DevOps on AWS Application Pipeline and WebApp Pipeline
Tao RenIn SWARM, we use these comprehensive step-by-step guides to build a production-ready devops solution.
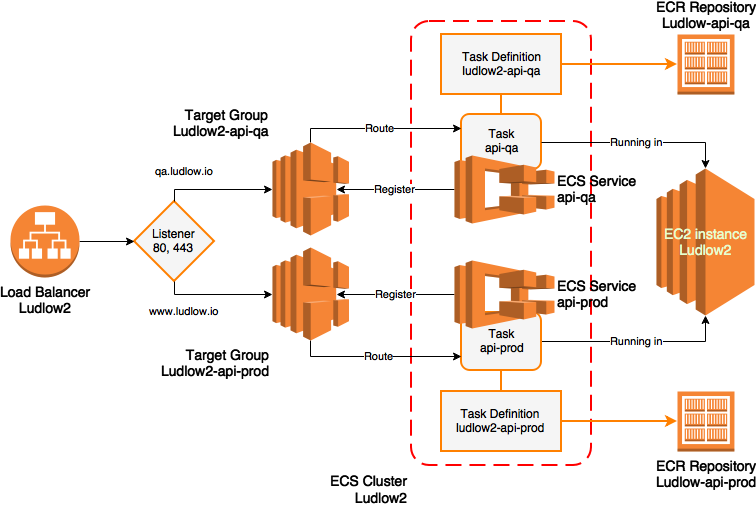
Application Pipeline Setup (Overview)
-
Create ECS Repositories first, where the Dev team could build and push the application’s Docker image.
-
Target Groups are referenced by Load Balancer. Let’s create them before doing Load Balancer.
-
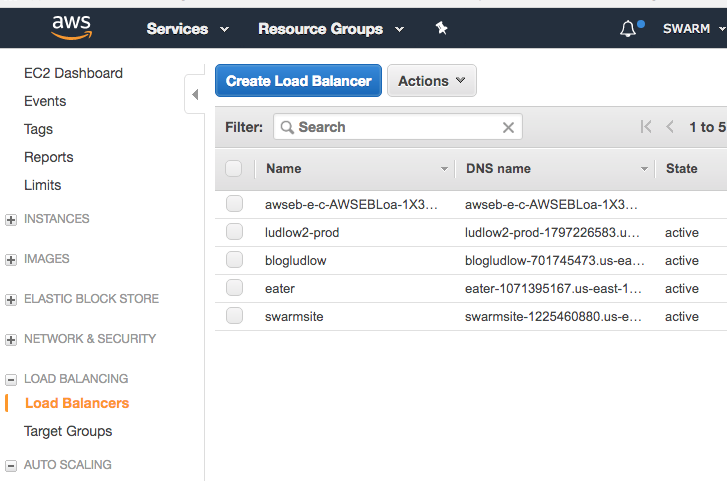
After a Load Balancer is created, you will get a DNS name(A Record) of it. Point all your site domain name to this DNS name.

-
ECS Cluster ECS Cluster is a container, where we can create Task Definitions and Services. An EC2 instance will also be created automatically while creating the ECS Cluster.
-
Specify which Docker image should be used, how much CPU and memory to use, whether should the console logging message redirect to CloudWatch.
-
Specify how many tasks should be run, which Task Definition should be use, which Target Group as well as Load Balancer should be register to.
-
EC2 instance are created within ECS Cluster. We need to add an Inbound rule letting the Load Balancer redirect requests to.
Pipeline Components Setup (Detail Operations)
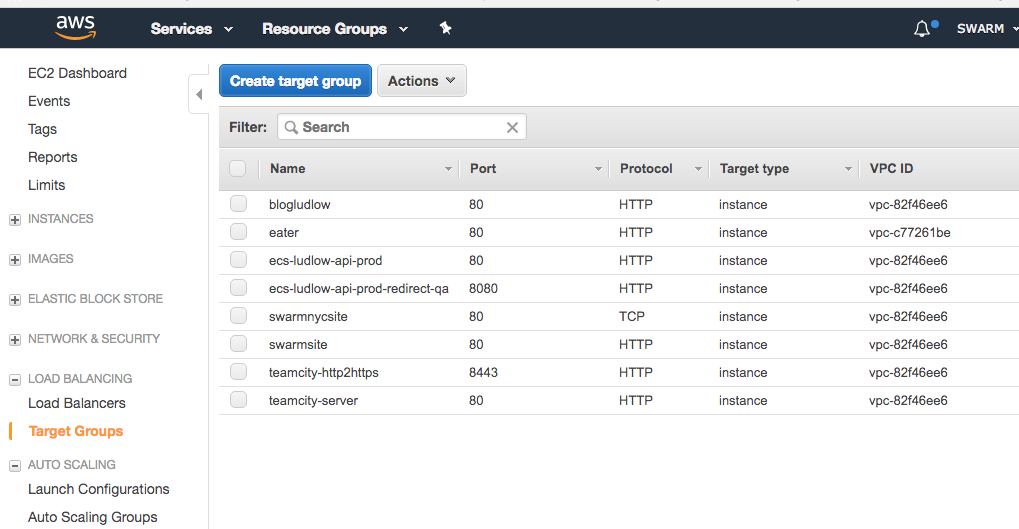
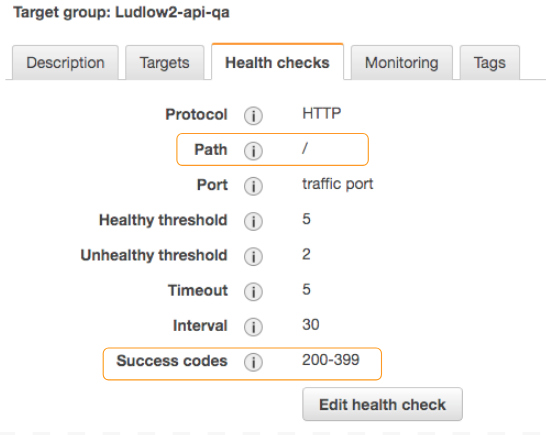
Target Groups setup
-
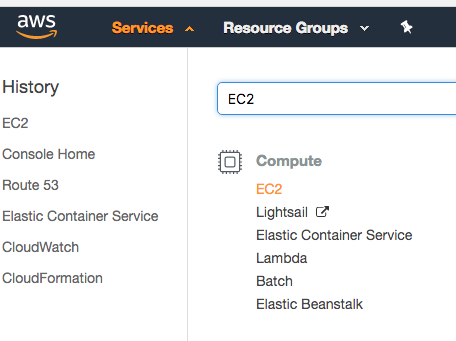
AWS console ⇒ EC2:
-
Target Groups ⇒ Create target group
-
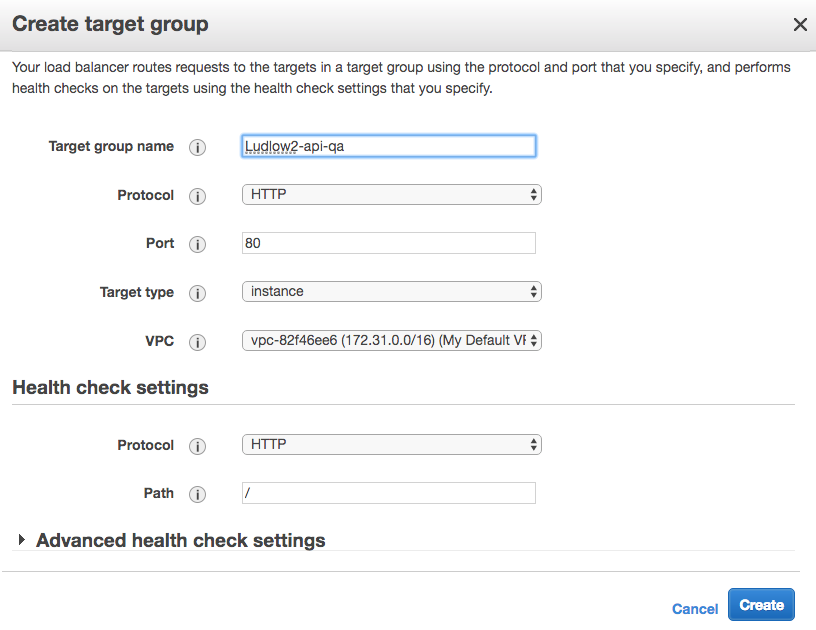
Create 2 groups
- Ludlow2-api-qa
- Ludlow2-api-prod
The port doesn’t matter, keep it as default: 80.
VPC: pick one, make sure it is the same as the one in your Load Balancer and EC2 Instance.
-
After the target group created, double check tab “Health checks”, and make sure your server will return a code within “Success codes” on the path “/”.
Load Balancer setup
-
AWS console ⇒ EC2 ⇒ Load Balancers ⇒ Create Load Balancer
-
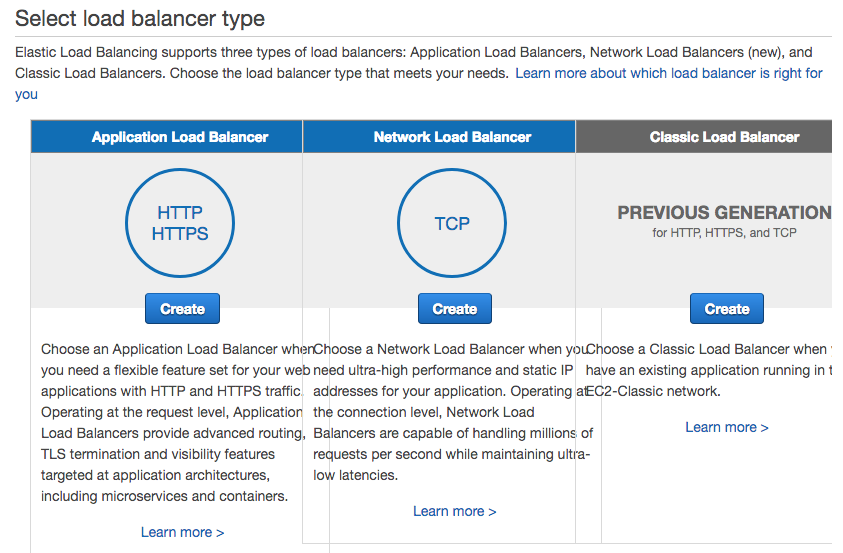
Select: Application Load Balancer
-
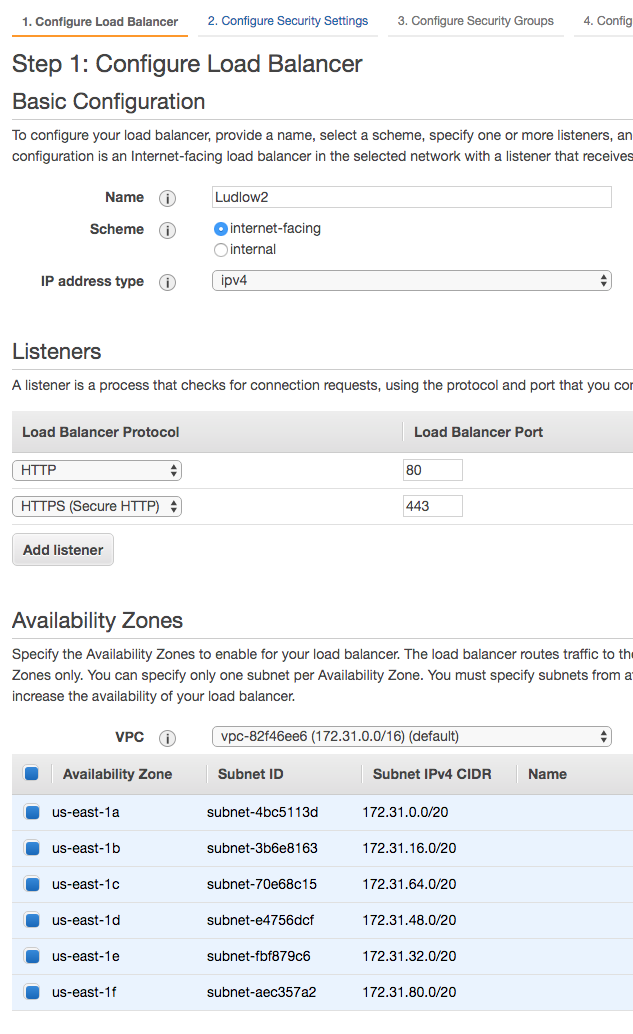
Add 2 Listeners: HTTP / HTTPS, Select All Availability Zones.
-
Choose a certificate
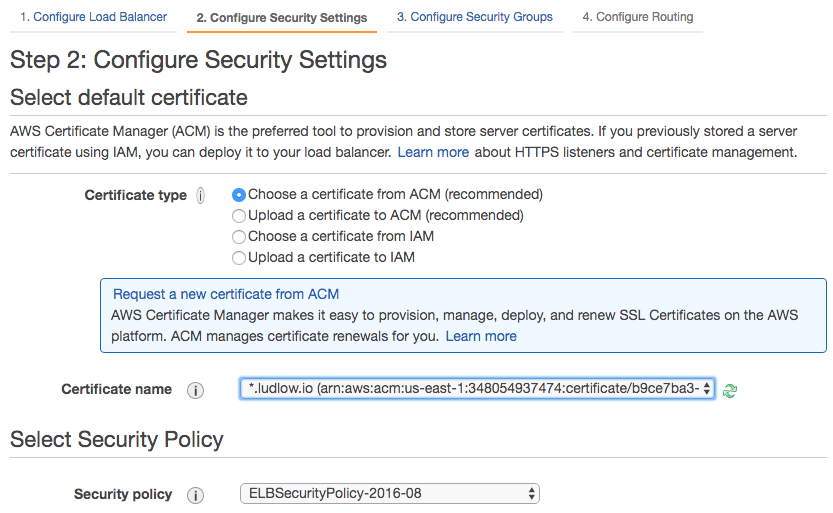
-
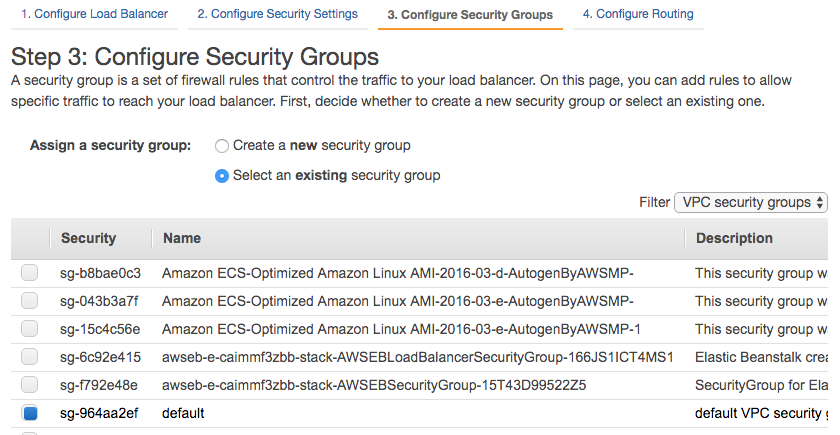
Select an existing security group: default
-
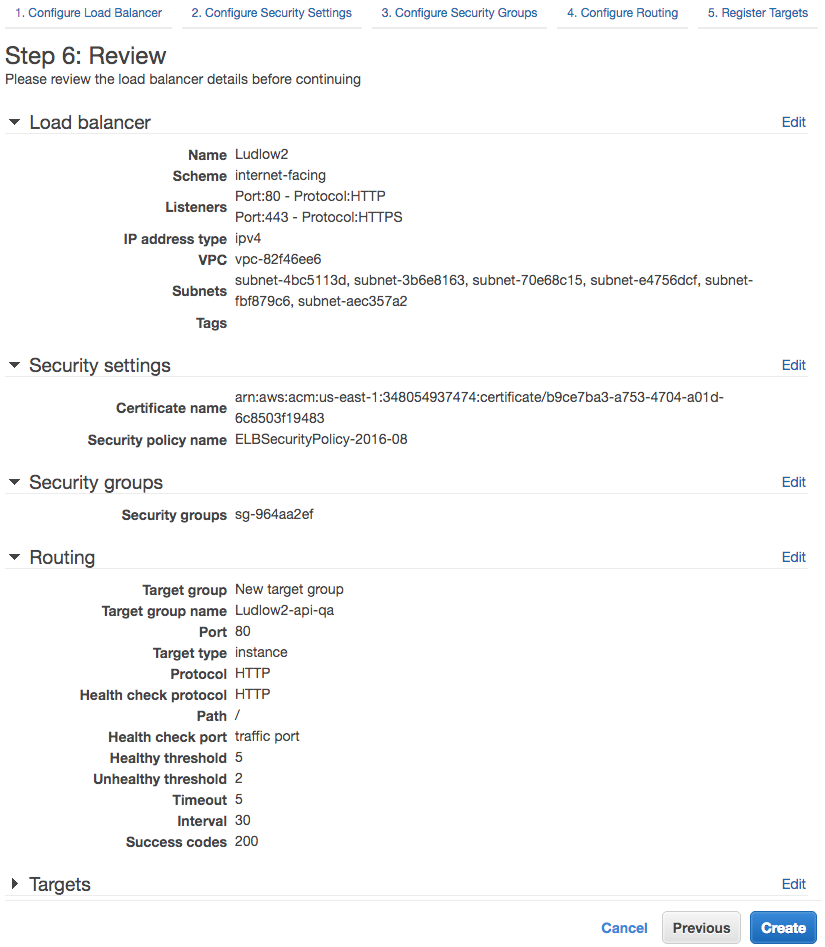
New target group or Select existing one: Ludlow2-api-prod. Port doesn’t matter, keep it as default: 80.

-
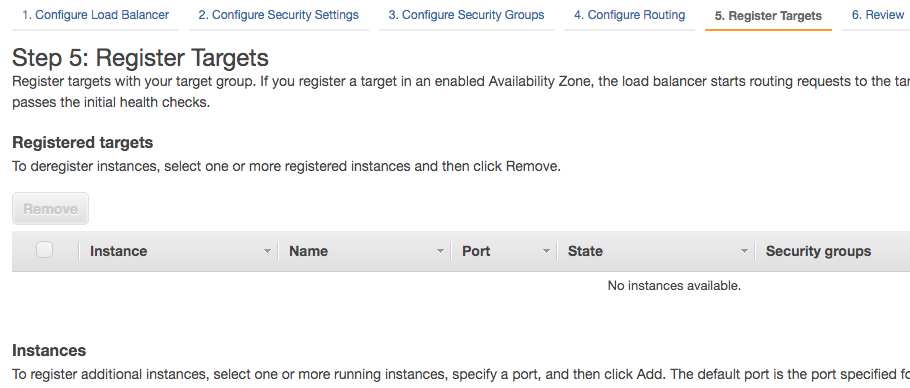
No need to Register Targets, which will be register automatically by our ECS Services.
-
Review and Create
-
Select the new created Load Balancer: Ludlow2 ⇒ Listeners: 80/443 ⇒ View/edit rules
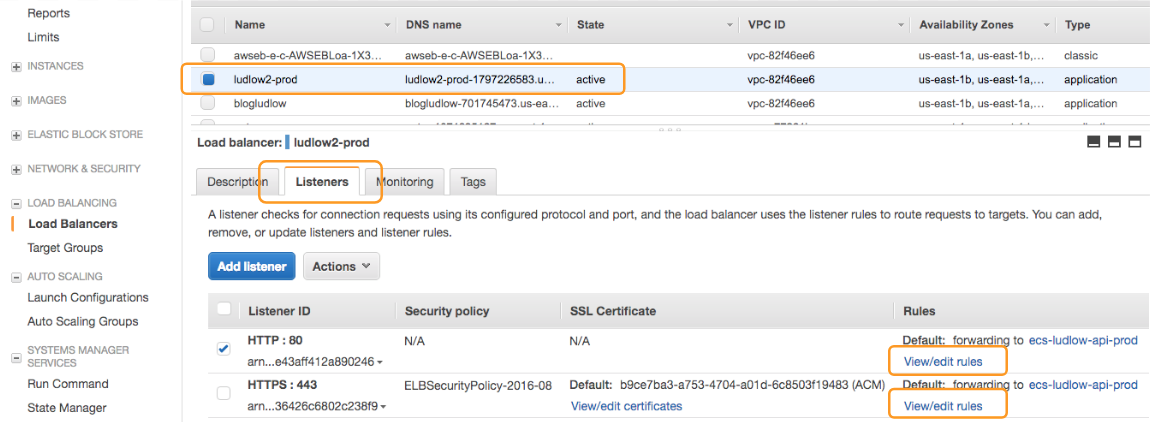
-
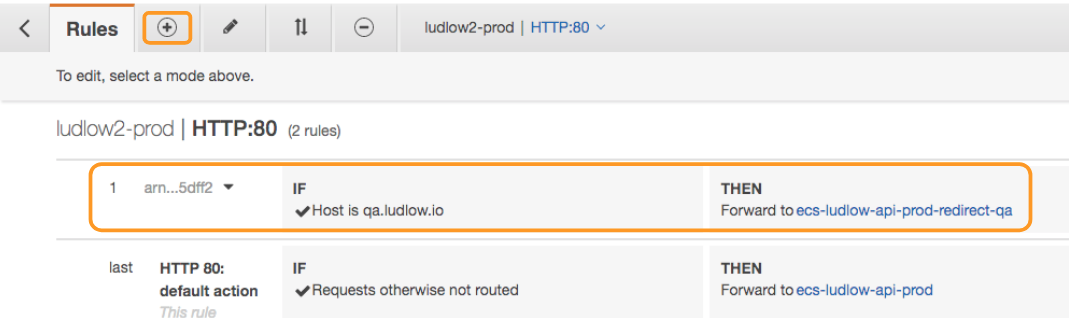
Add a rule: If Host is qa.ludlow.io forward to Target Group: Ludlow2-api-qa
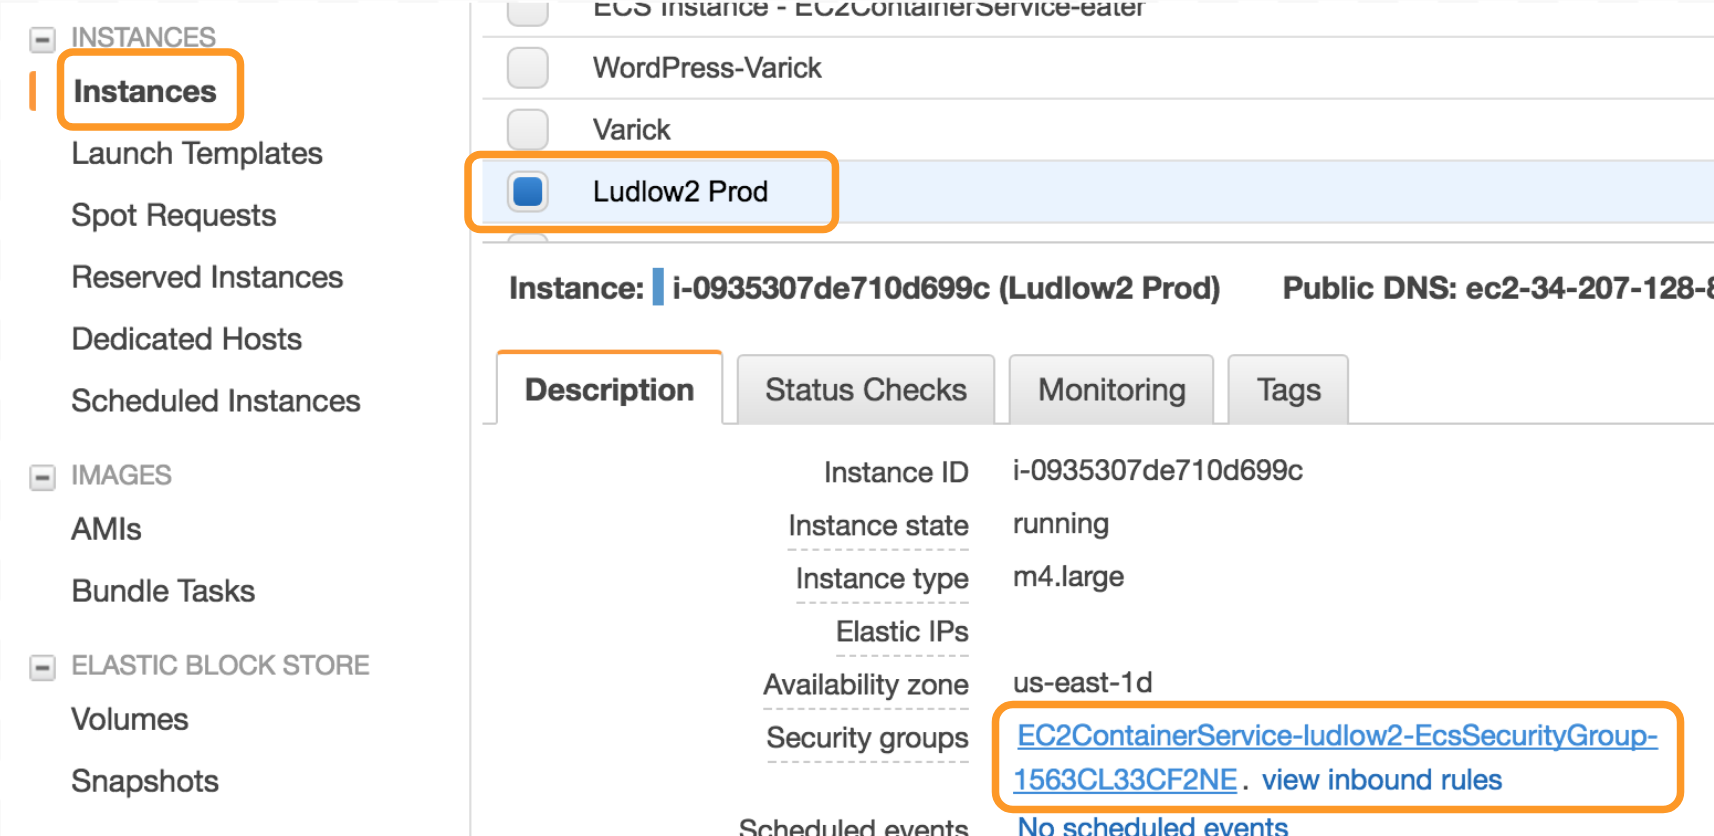
EC2 Instance setup
The EC2 instance where we need to add an inbound rule letting a Load Balancer redirect the request, should be created while creating ECS Cluster below.
-
AWS console ⇒ EC2 ⇒ Instances ⇒ Ludlow2 ⇒ click Security groups
-
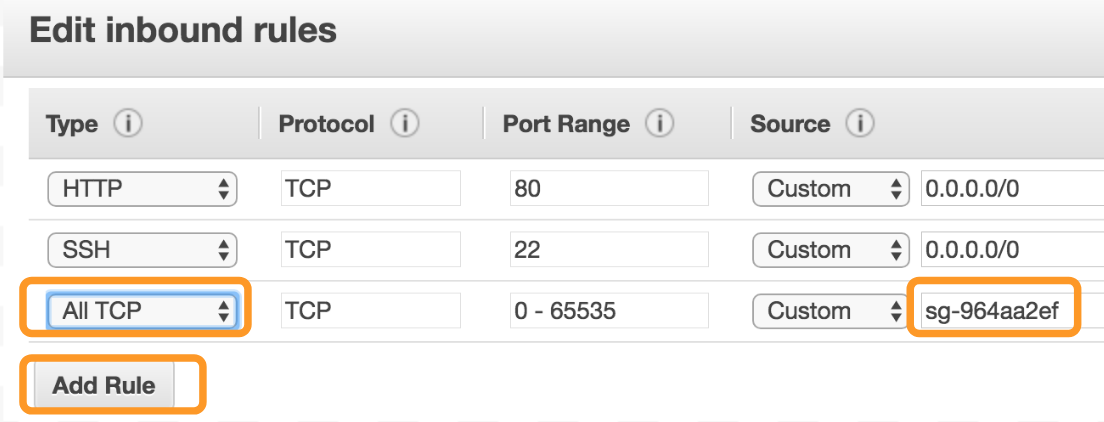
Inbound ⇒ Edit
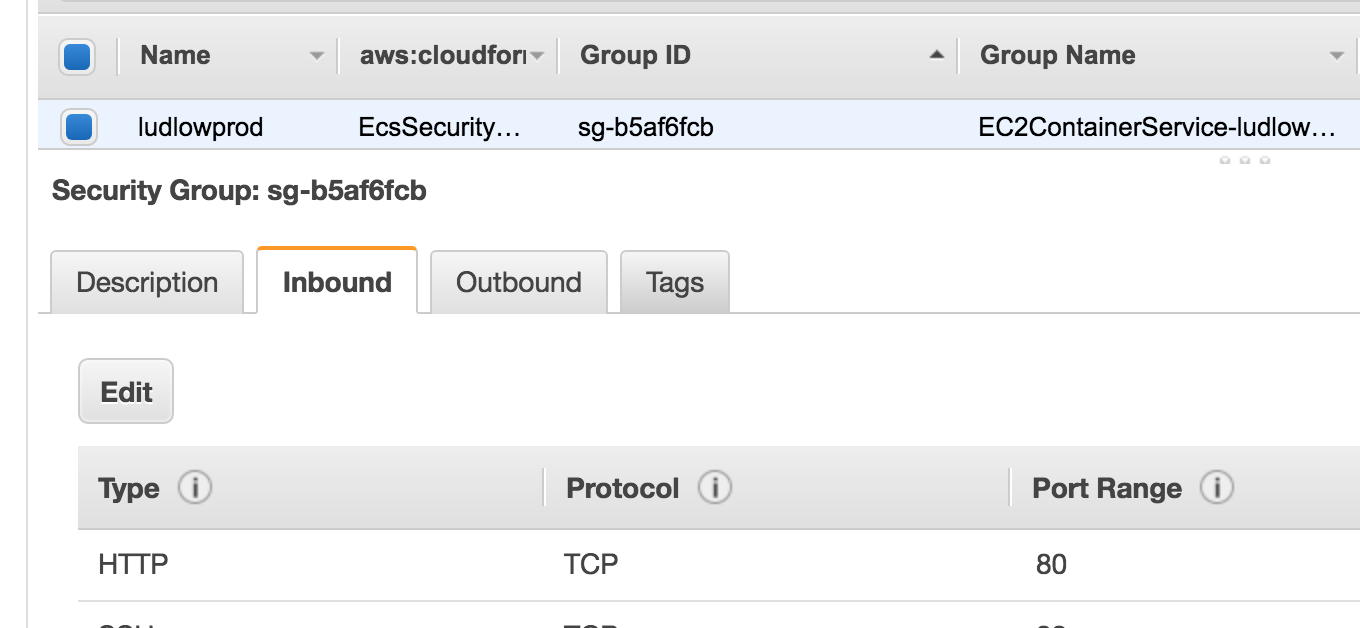
-
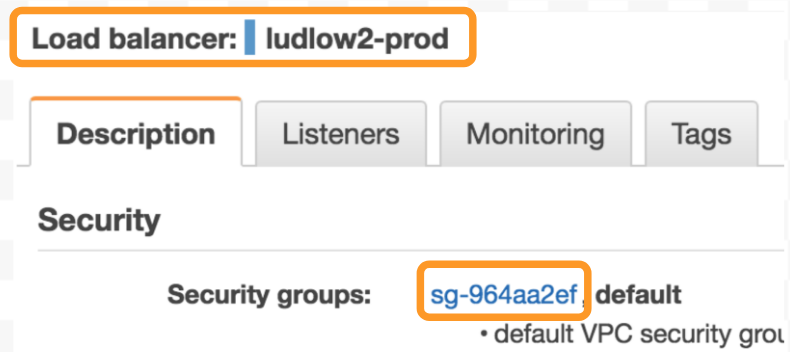
Add Rule, Type pick All TCP, Source input the Security Group ID(sg-964aa2ef) from Load Balancer: Ludlow2
ECS Cluster setup
-
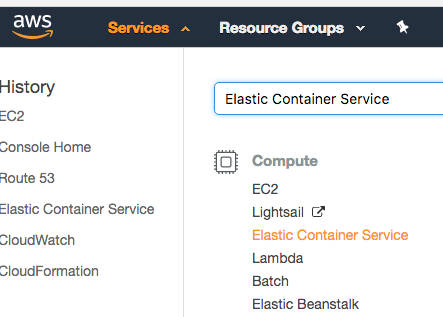
AWS console ⇒ Elastic Container Service:
-
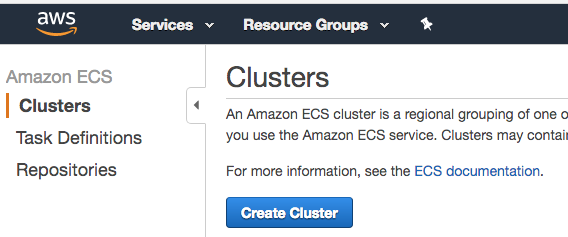
Clusters ⇒ Create Cluster
-
Select EC2 Linux + Networking
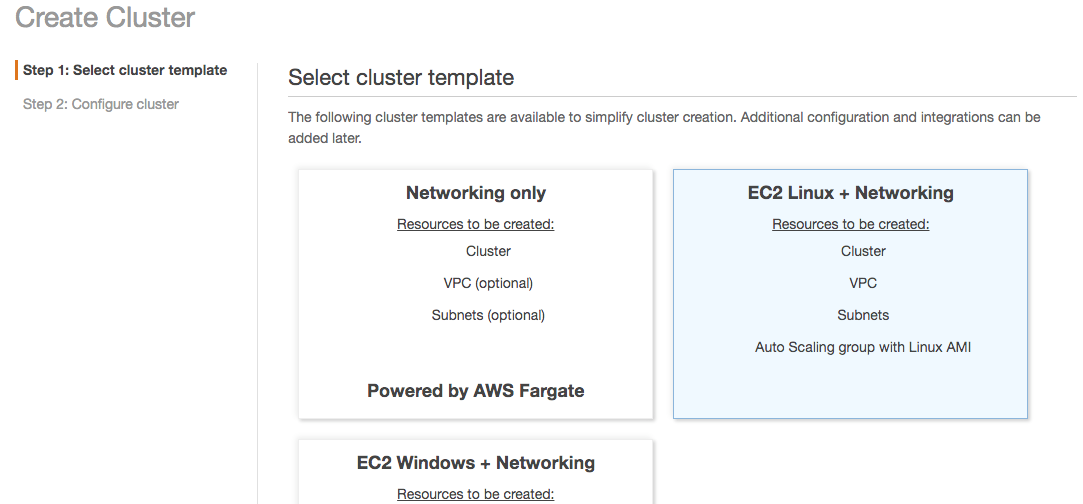
-
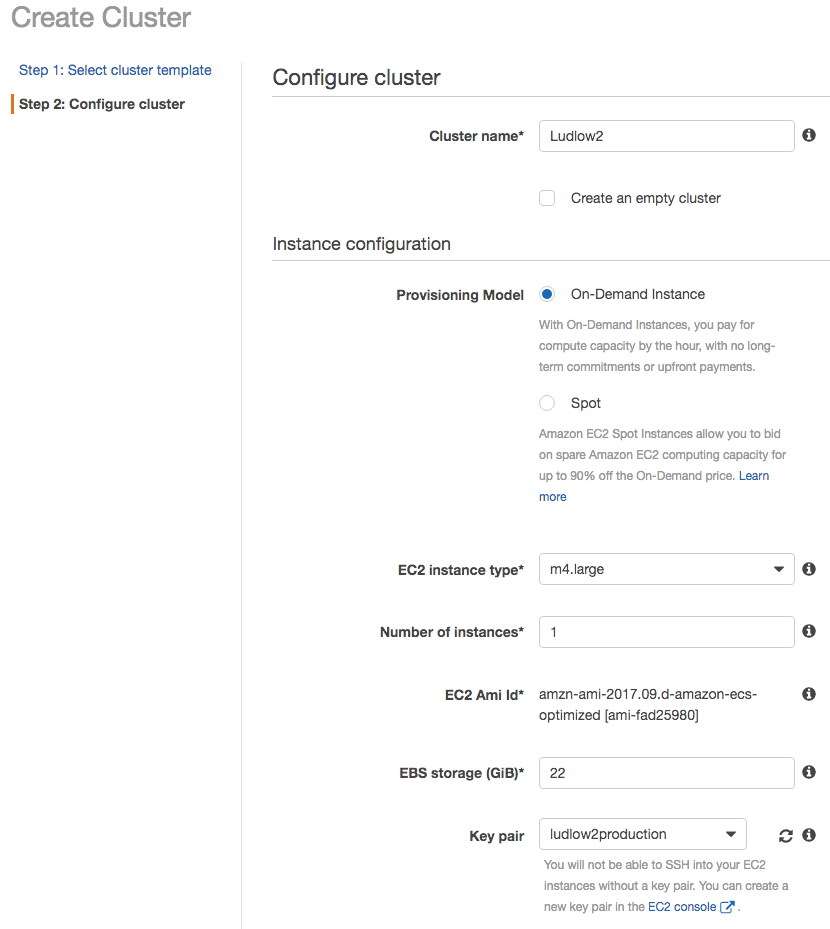
Use default EC2 instance.
-
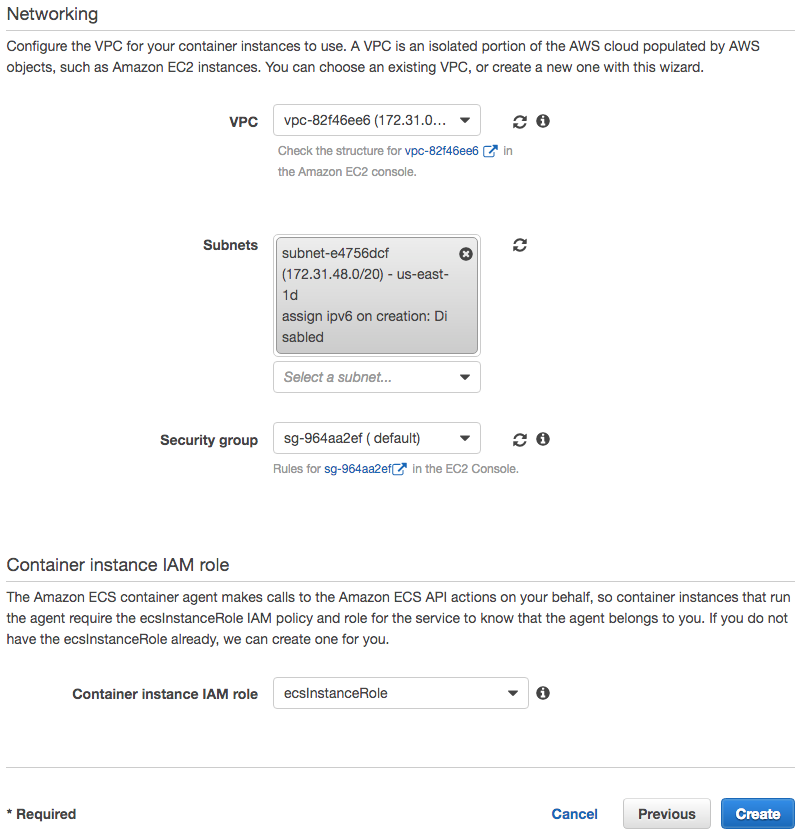
Networking use existing VPC, Subnet, and Security group. Security group should be the same as the one in Load Balancer, i.e. default.
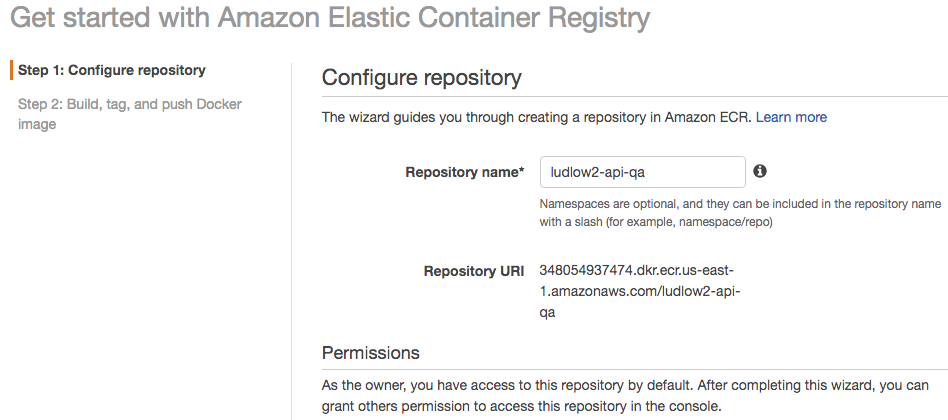
ECR Repositories setup
-
AWS console ⇒ Elastic Container Service ⇒ Repositories ⇒ Create repository
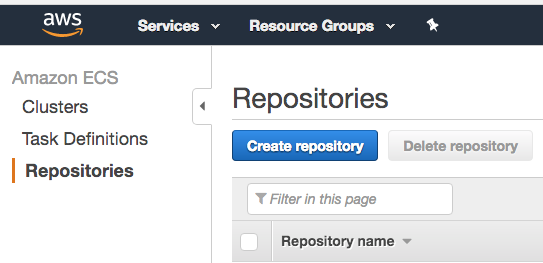
-
Create two repositories: ludlow2-api-qa, ludlow2-api-prod.
-
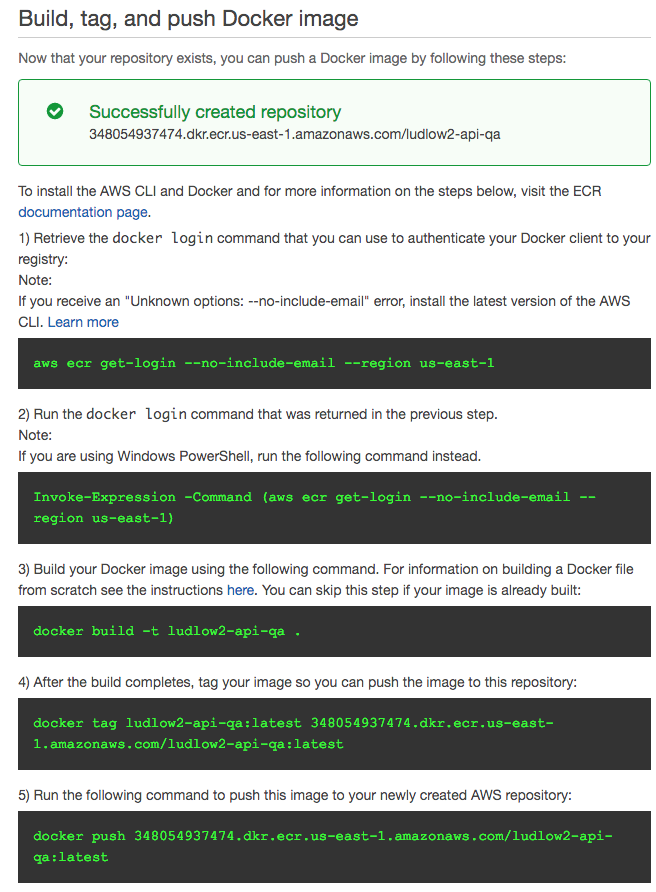
Write down the commands, which will be used in CI platform: TeamCity.
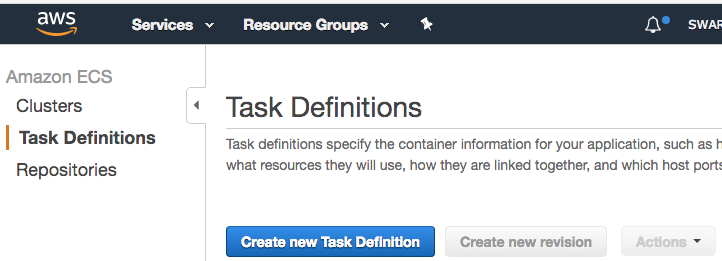
ECS Task Definitions setup
-
AWS console ⇒ Elastic Container Service ⇒ Task Definitions ⇒ Create new Task Definition
-
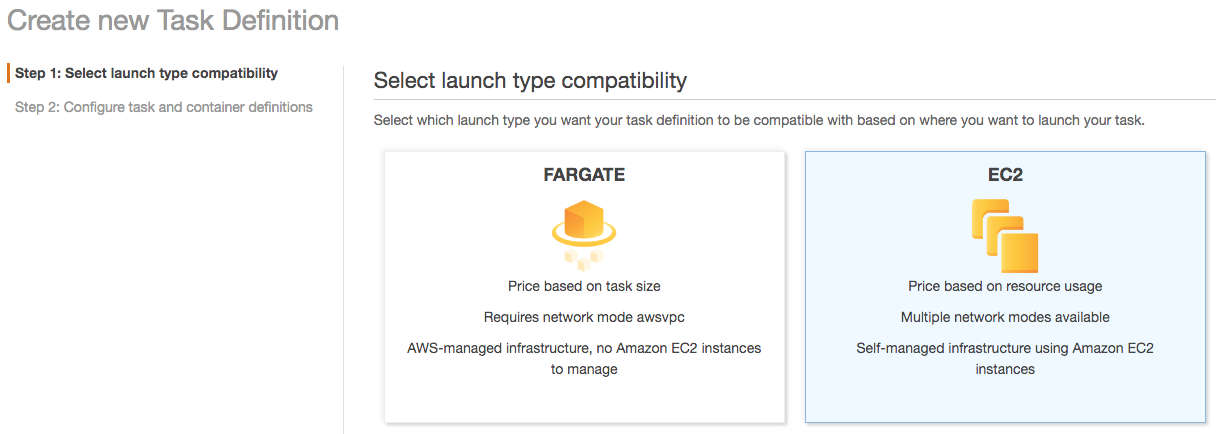
Select EC2 as launch type compatibility
-
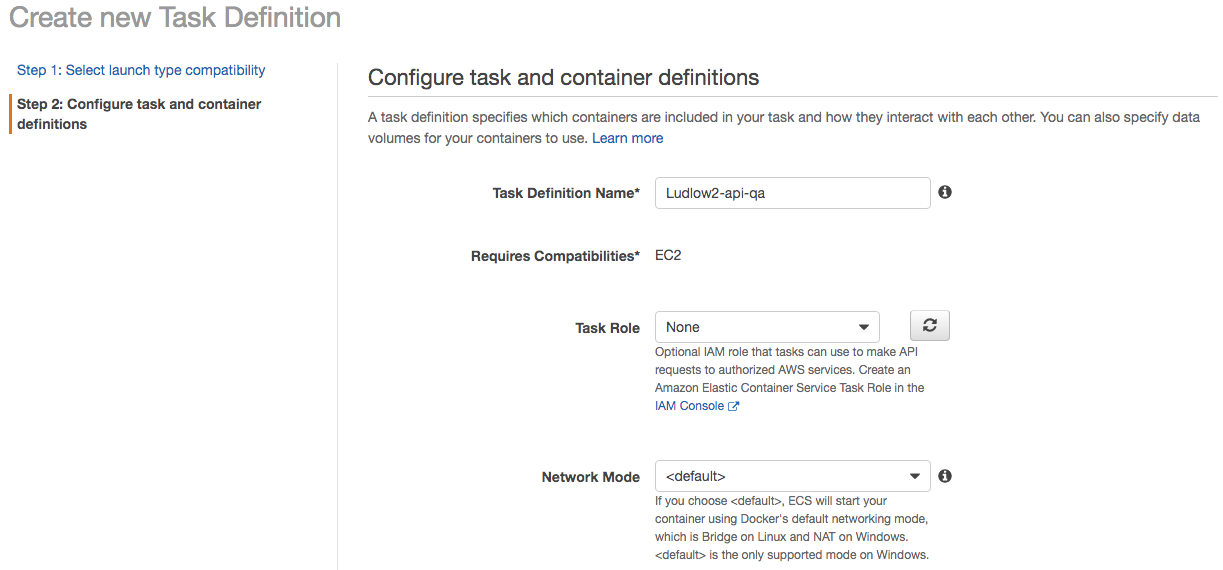
Configure task and container definitions
-
Add container

-
Standard configuration:
-
Image points to the Repository we just created: ludlow2-api-qa
-
Memory Limits should set to Hard limit for qa, just in case of affecting the prod Task’s memory
-
Port mappings: Host port must be set to 0, in order to register to a Target Group with a dynamic port, which allow two different Tasks(Blue/Green Deployment) running at the same time, one for old version image, one for new version image. Container port is whatever you set in application’s Dockerfile.

-
-
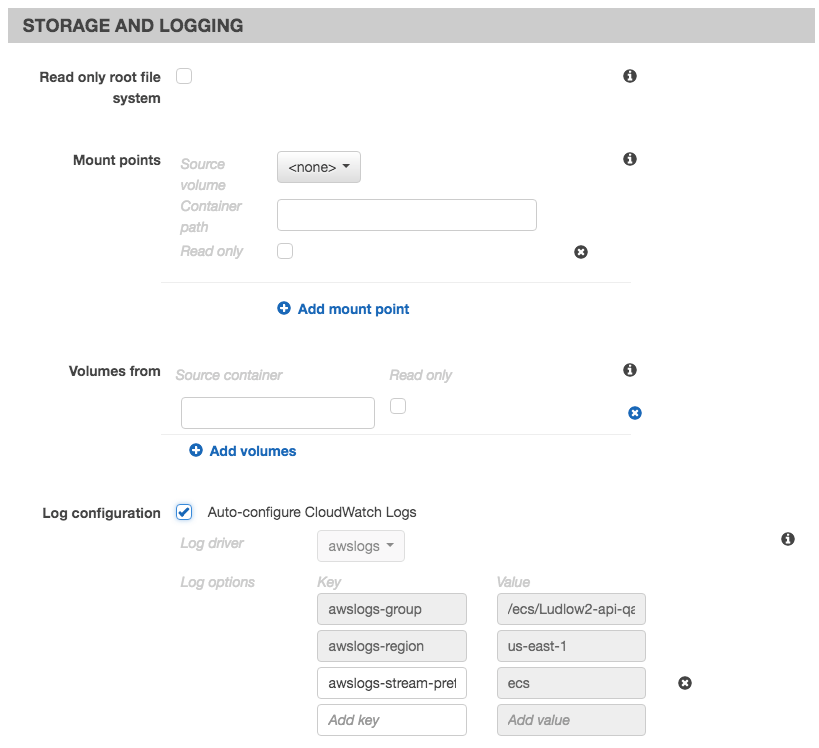
Advanced container configuration
- STORAGE AND LOGGING ⇒ Log configuration ⇒ check Auto-configure CloudWatch Logs, this makes sure all the console log will go to CloudWatch.
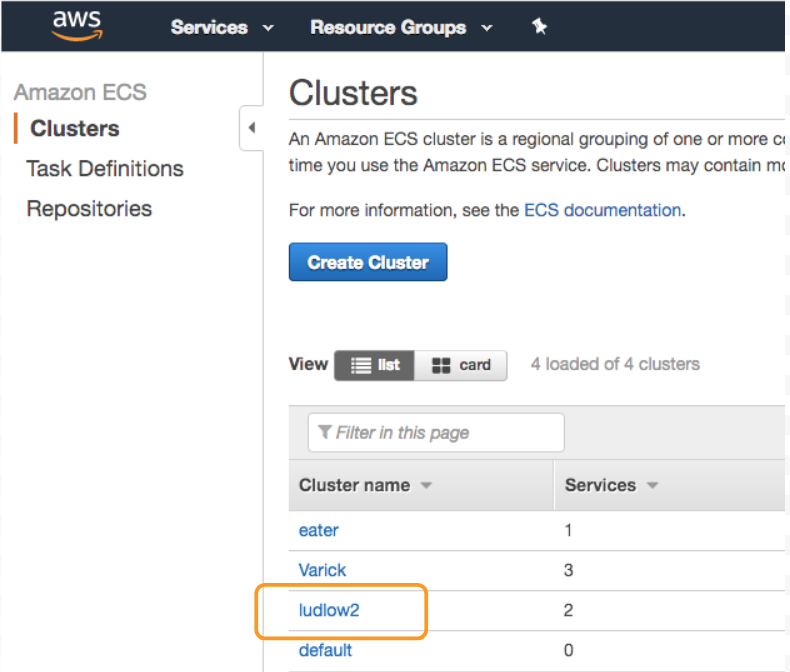
ECS Services setup
-
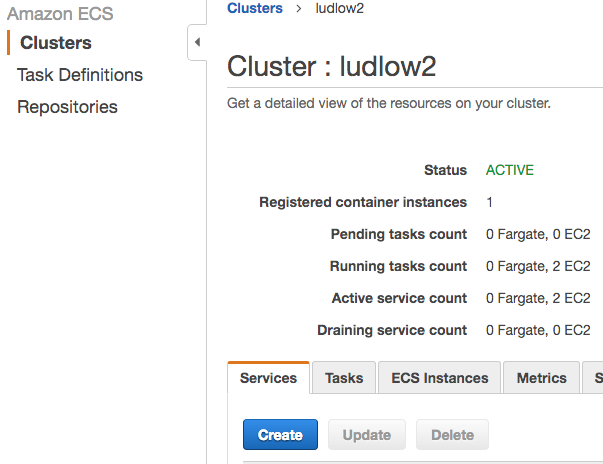
AWS console ⇒ Elastic Container Service ⇒ Clusters ⇒ Ludlow2
-
Services ⇒ Create
-
Configure services
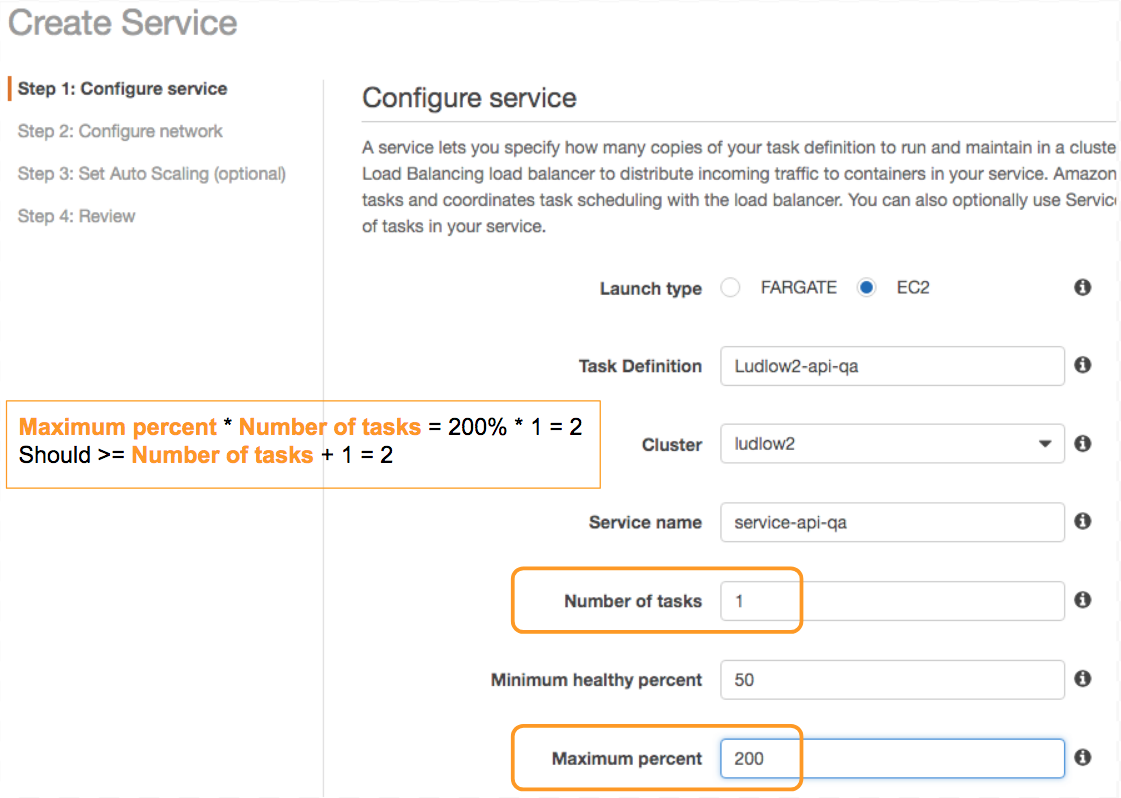
- Make sure Maximum percent * Number of tasks >= Number of tasks + 1, letting your new task can be started while the old one is stopping.
-
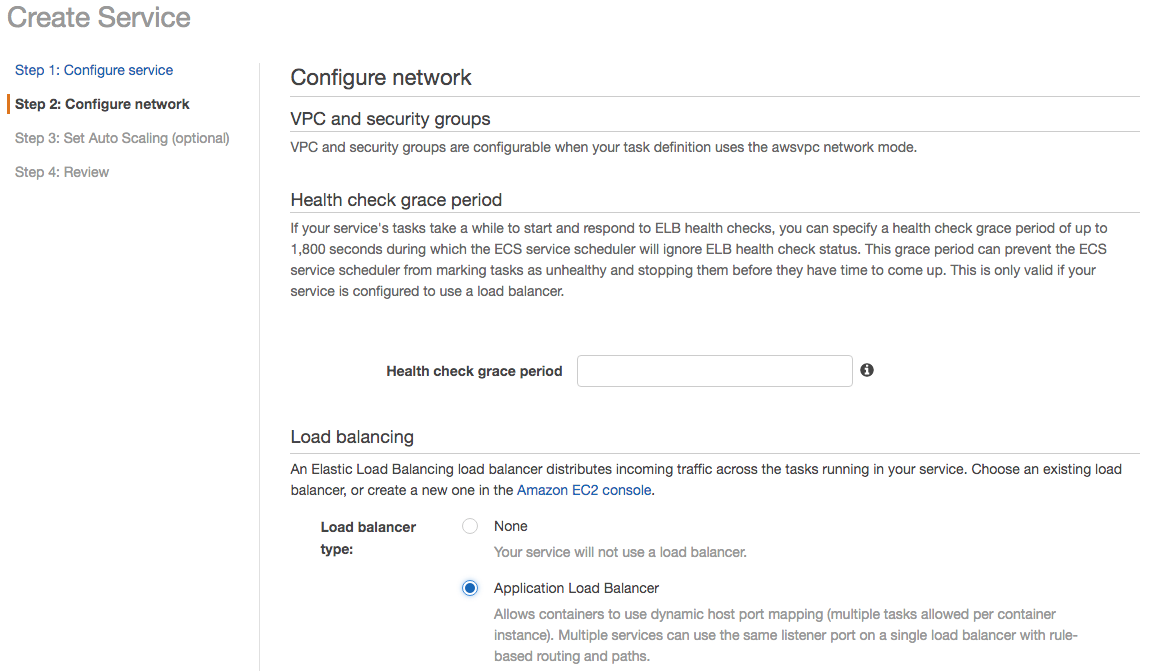
Configure network
- Load balancer type: Application Load Balancer
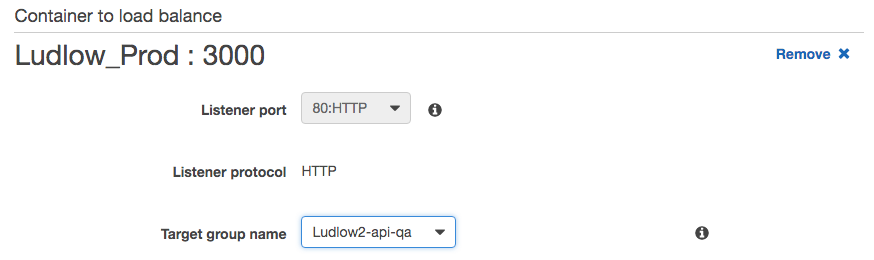
- Select Load Balancer: Ludlow2, Click Add to load balancer
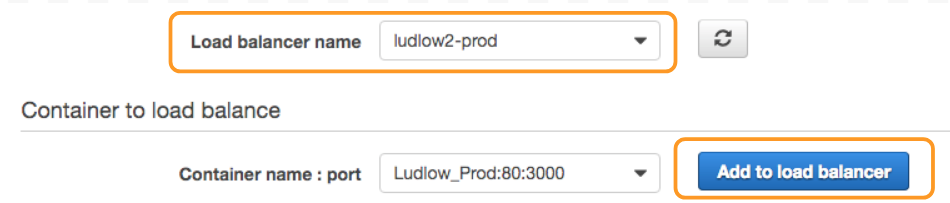
- Target group name, pick Ludlow2-api-qa
WebApp Pipeline Setup
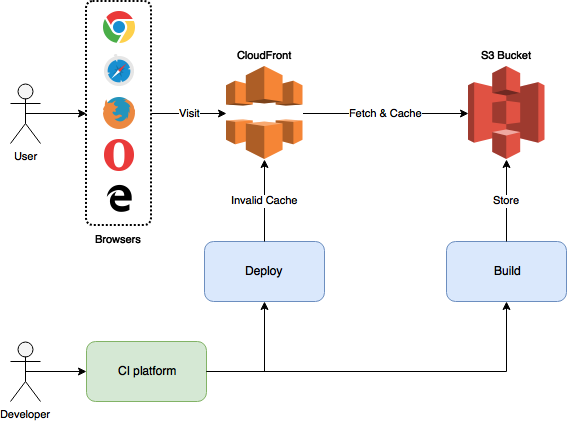
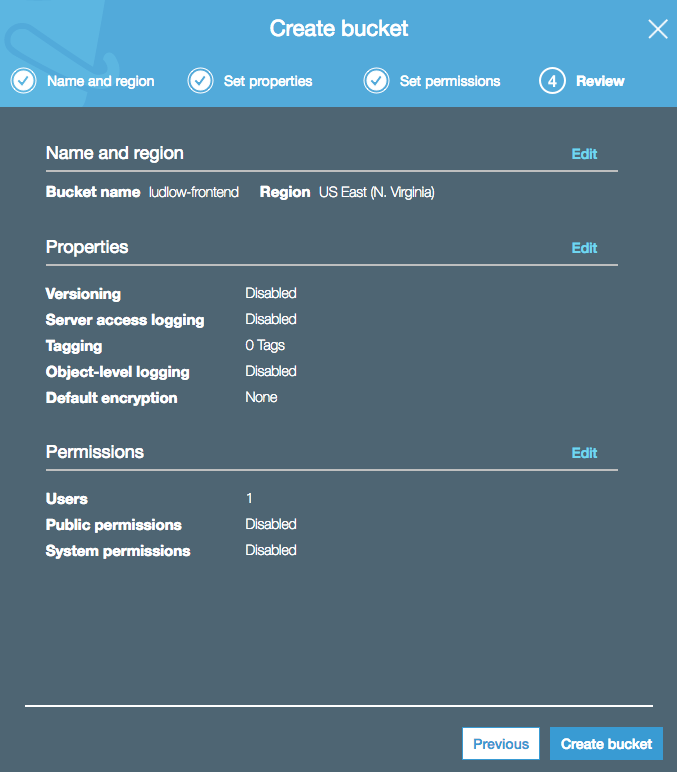
S3 Bucket setup
-
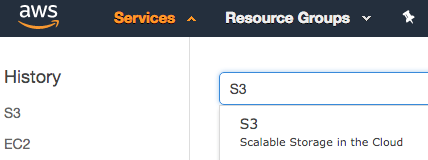
AWS console ⇒ S3:
-
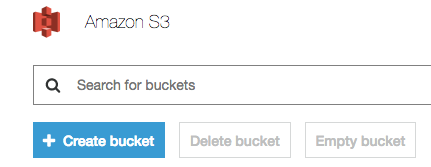
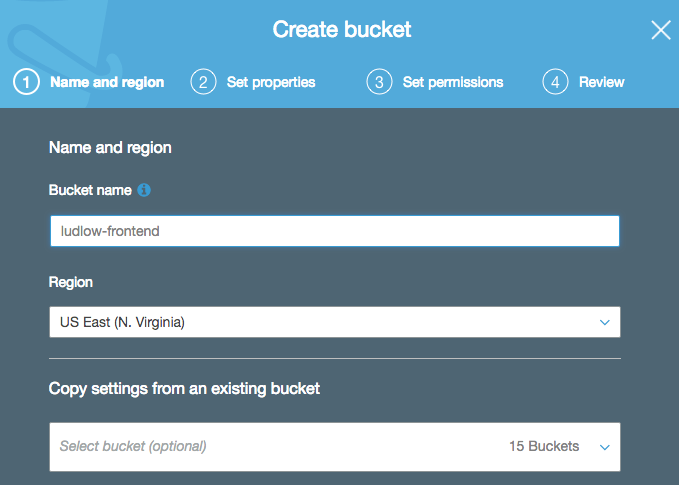
Create bucket
-
Name and region: put a name, e.g. ludlow-frontend
-
Take the default settings and Create bucket
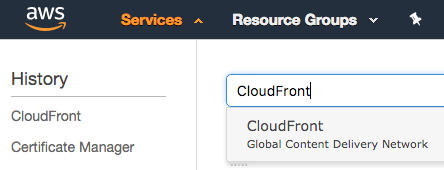
CloudFront setup
-
AWS console ⇒ CloudFront:
-
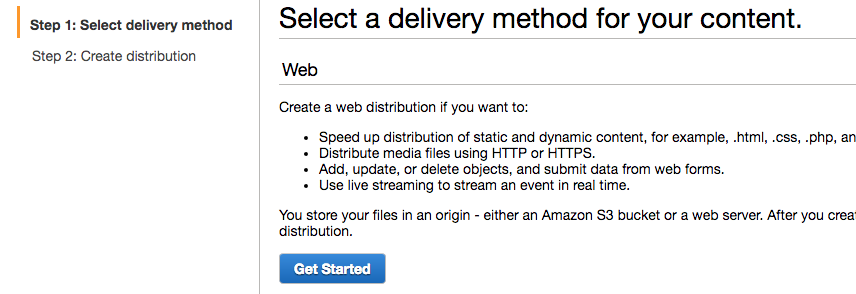
Create Distribution

-
Pick Web as the delivery method
-
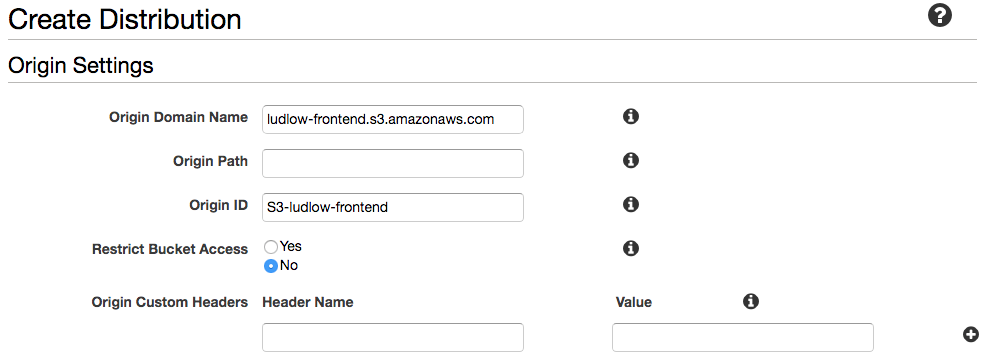
Origin Settings:
- pick the S3 Bucket just created. E.g. ludlow-frontend.s3.amazonaws.com
-
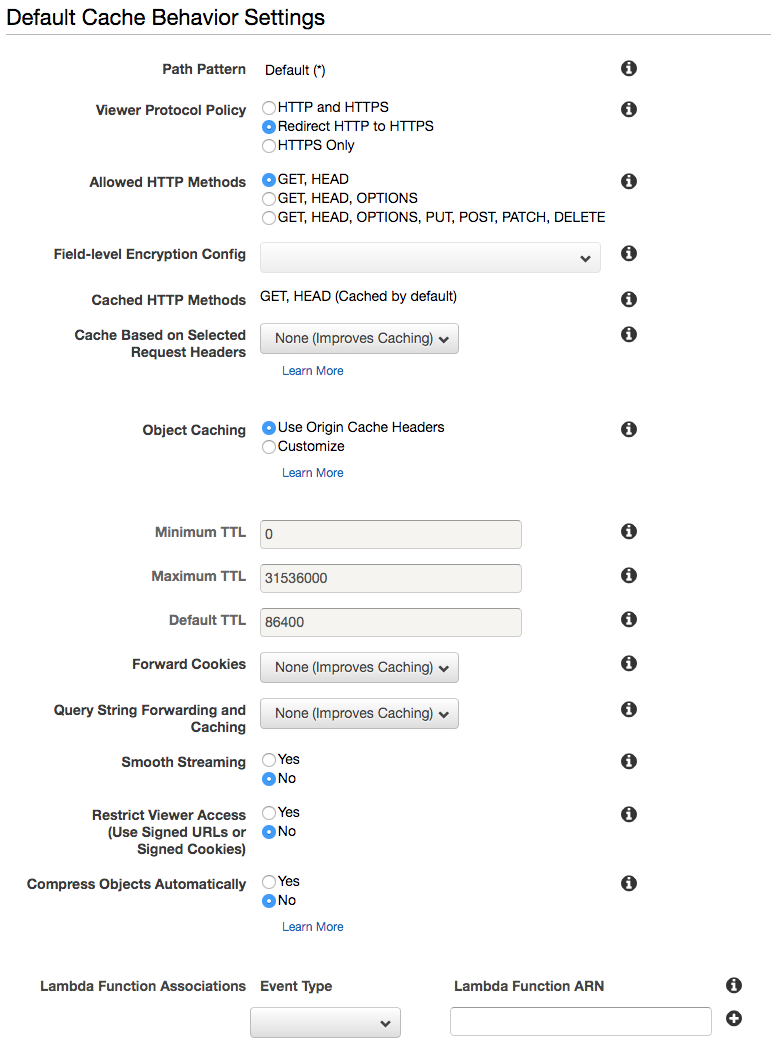
Default Cache Behavior Settings:
- Viewer Protocol Policy: Redirect HTTP to HTTPS
-
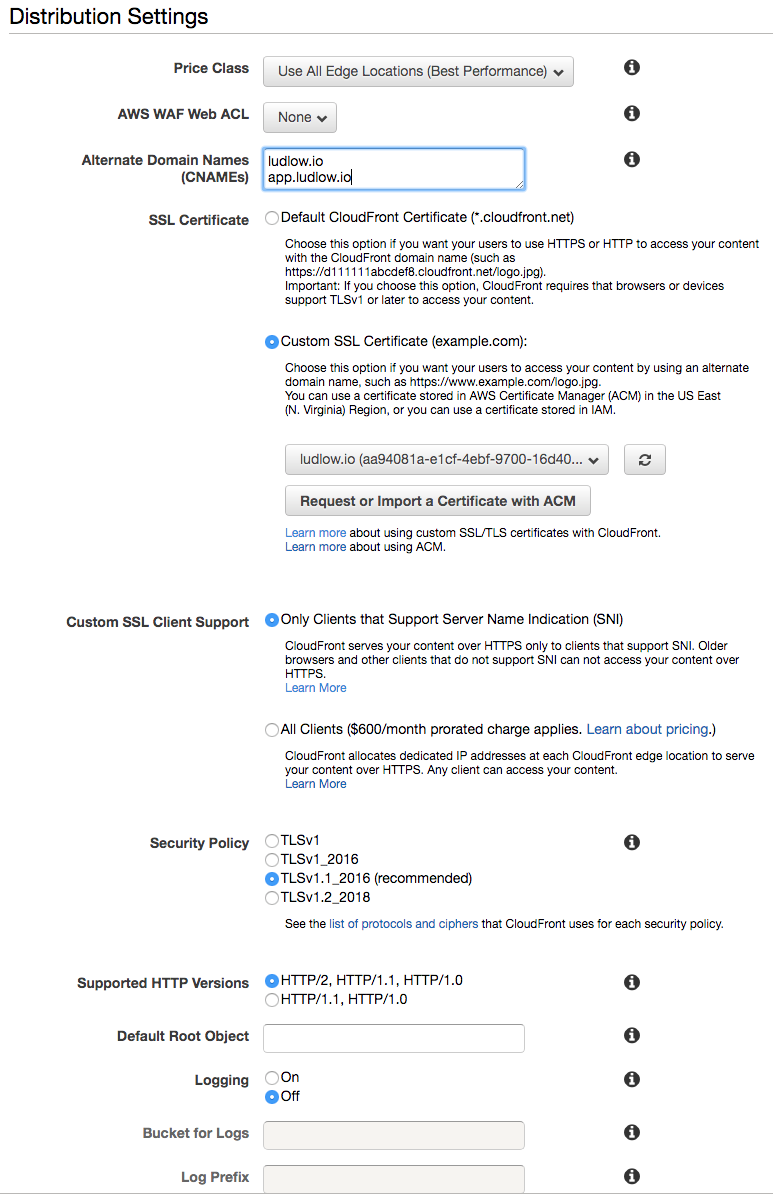
Distribution Settings
-
Alternate Domain Names(CNAMEs): your app’s url. E.g. app.ludlow.io
-
SSL Certificate: check Custom SSL Certificate, and pick the certificate to your app.
-
Default Root Object: index.html or any html file you want to load “/”
-
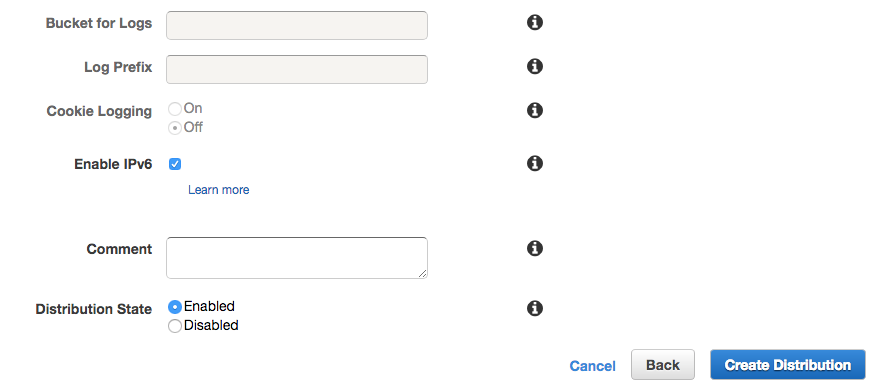
Others: keep them as are.
-
-
Click Create Distribution and you’re all set.
-
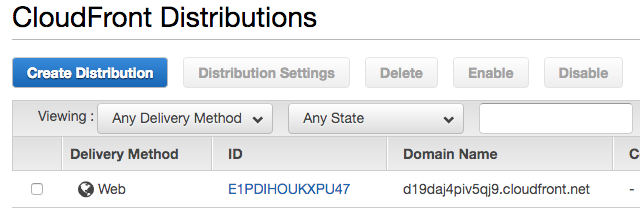
After the Distribution is created, you can have its Domain Name: d19daj4piv5qj9.cloudfront.net.
-
You must create a CNAME record with your DNS service to route queries for api.ludlow.io to d19daj4piv5qj9.cloudfront.net

-
If you got 403 error when you open the link of the CloudFront, check here